TL;DR: This article evaluates the most realistic AI image generators of 2025 through rigorous, consistent testing using identical prompts, revealing the top five tools that produce photorealistic results indistinguishable from professional photography.
📋 Table of Contents
Jump to any section (17 sections available)
📹 Watch the Complete Video Tutorial
📺 Title: Best Al Image Generators in 2025 (Most Realistic)
⏱️ Duration: 875
👤 Channel: Youri van Hofwegen
🎯 Topic: Best Image Generators
💡 This comprehensive article is based on the tutorial above. Watch the video for visual demonstrations and detailed explanations.
In recent months, the AI image generation space has exploded with new contenders—each claiming to deliver the most lifelike, photorealistic results yet. But which ones actually deliver? To find out, a comprehensive head-to-head test was conducted across all major AI image generators, both new and established, using identical prompts and workflows to ensure fairness.
The results were eye-opening: some models produced images so realistic they could pass for high-end DSLR photography, while others faltered on basic details like lighting, skin texture, and facial anatomy. In this definitive guide, we reveal the five most realistic AI image generators tested—and one powerful platform that makes accessing and using them all dramatically easier and more efficient.
Why Realism in AI Image Generation Matters
As AI-generated visuals become integral to marketing, e-commerce, editorial content, and personal branding, the demand for true photorealism has never been higher. Users no longer want “AI-looking” images with telltale artifacts like distorted hands, plastic skin, or unnatural lighting. They want results indistinguishable from real photographs—whether shot in a studio or captured casually on a smartphone.
This guide cuts through the hype to identify which tools genuinely deliver on that promise, based on rigorous, consistent testing.
The Testing Methodology: Fair, Consistent, and Reproducible
To ensure an apples-to-apples comparison, every AI model was tested using the exact same neutral prompt:
“Create a hyperrealistic portrait of a young woman under soft natural lighting, neutral background, detailed skin texture, accurate facial anatomy.”
This prompt was intentionally kept general to allow each model to showcase its inherent strengths without over-constraining it. No additional settings were modified during the base test—only the model and prompt changed.
For advanced tests (e.g., text rendering, image editing, or background replacement), tailored prompts were used, but always applied consistently within each model’s capabilities.
Introducing Open Art: The Unified Platform for All AI Image Generators
All tests were conducted using Open Art—a centralized platform that provides access to dozens of AI image models, including all five featured in this guide.
Open Art eliminates the need to juggle multiple subscriptions, logins, or unreliable free websites filled with pop-up ads. Instead, it offers a single, clean workflow where you can:
- Switch instantly between AI models
- Use advanced features like Autoenhance and upscaling
- Upload reference images for editing tasks
- Generate, refine, and upscale images in seconds
To access any model in Open Art:
- Sign in to your Open Art account
- Click “Image” on the left sidebar to open the image workflow
- Click the “Switch” button
- Select your desired AI model from the list
- Enter your prompt and click “Create”
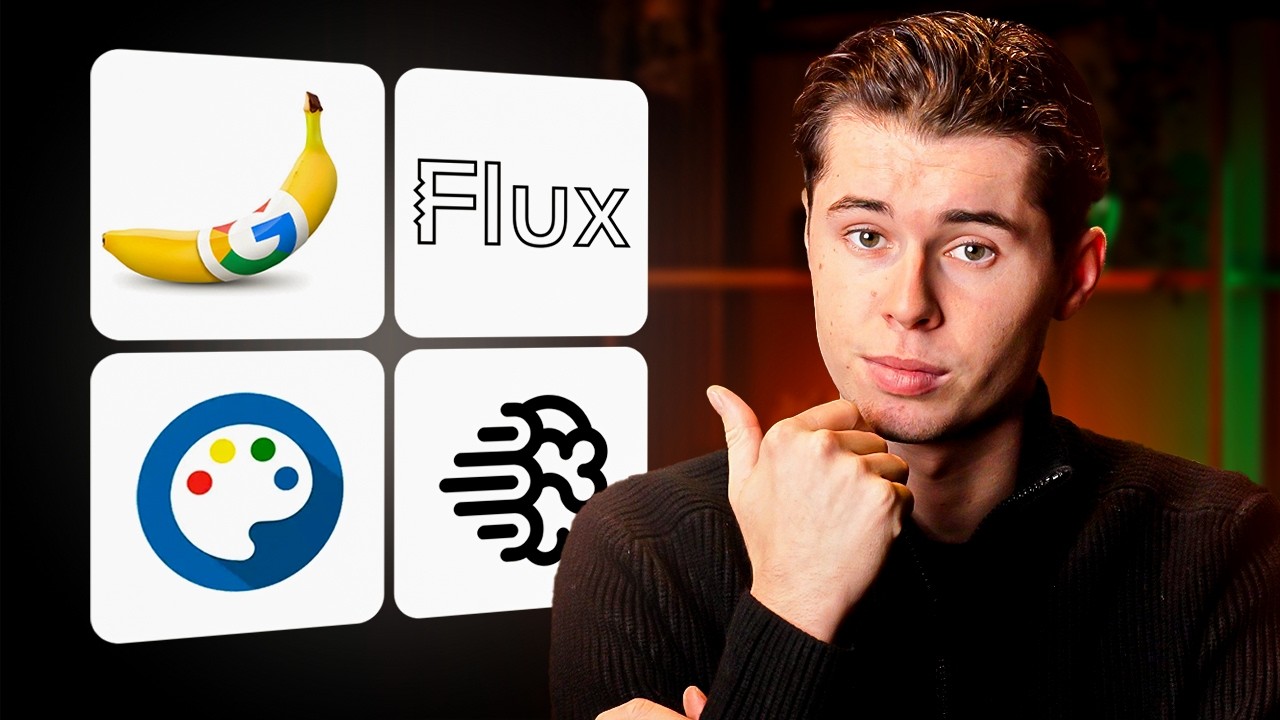
#1: Nano Banana (Gemini 2.5 Flash Image) – The Seamless Editor
Nano Banana, officially known as Gemini 2.5 Flash Image, is Google DeepMind’s latest AI image generator and editor. Marketed as a fast, highly realistic tool for seamless image editing, it excels at tasks like adding elements or changing backgrounds while maintaining visual fidelity across multiple steps.
Base Prompt Test Results
When run with the neutral prompt, Nano Banana produced an output that was “incredibly realistic” with minimal “AI fill” artifacts. The only minor drawback was slight skin smoothness—a common AI trait—but this was easily corrected via upscaling.
Open Art’s built-in upscaling feature allows users to boost resolution up to 4K, which sharpens details and reduces softness, significantly enhancing realism.
Advanced Editing Test with Reference Images
To test Nano Banana’s editing strength, three reference images were uploaded:
- The original AI-generated portrait
- A photo of a scarf
- A mountain background photo
The prompt used was:
“Add the scarf naturally to the subject. Replace the background with the mountain photo. Keep the face and lighting consistent. Realistic style.”
Using Open Art’s Autoenhance feature (which fine-tunes prompts for better model compatibility), and selecting “Widescreen” output format, the result was stunning: the scarf and mountain were integrated seamlessly, and the final image resembled a high-end fashion shoot.
Pro Tips for Using Nano Banana
When using more than two reference images, finer details can sometimes be lost. The recommended workflow is:
- First, composite the subject into the new background
- Save that output
- Re-upload it as a new reference and add the next element (e.g., scarf)
This ensures sharpness and detail are preserved through each editing step.
Nano Banana is ideal for product branding, background swaps, and design remixing.
#2: Ideogram (IDOG) – The Text Rendering Specialist
Ideogram (often referred to as IDOG) was founded by a former Google researcher and stands out for its exceptional text rendering and prompt adherence—a weakness in many competing models, including Nano Banana.
Base Prompt Test Results
With the neutral prompt, Ideogram produced a more dramatic and artistically stylized result compared to Nano Banana. Lighting was realistic, but one generated image showed slightly unnatural facial proportions due to angle interpretation.
Overall, the output leaned toward a “very well-done painting” rather than a pure photograph—still realistic, but with a subtle illustrative quality.
Text Rendering Test
A specialized prompt was used to test text integration:
“Photorealistic portrait of a young woman. Add a metal name plate at the bottom with the word ‘Luna’ engraved in elegant serif font. Text must be clear, sharp, and integrated realistically.”
With Autoenhance enabled and output set to “Art Print” aspect ratio, the result featured sharp, clear lettering. While the metal plate wasn’t perfectly rendered as envisioned, the text itself was legible and well-integrated.
Best Use Cases for Ideogram
Ideogram is the top choice when your project requires:
- Clear logos or branding text
- Accurate lettering in images
- A slightly artistic, stylized realism
Avoid it if you need pure photographic fidelity without any illustrative flair.
#3: Juggernaut XL – The Cinematic Realism Powerhouse
Juggernaut XL is a high-resolution model widely praised for its cinematic clarity, lifelike skin rendering, and anatomical precision. Built specifically for hyperrealistic image generation, it delivered the most photorealistic results in the base test.
Base Prompt Test Results
With the neutral prompt (and Autoenhance turned off), Juggernaut XL produced images that were “absolutely stunning”—with realistic hair, skin texture, and lighting that looked indistinguishable from a professional DSLR photograph.
Advanced Photography-Style Test
A more demanding prompt was used:
“High-end fashion photography portrait of a woman wearing a silk gown, dramatic spotlight, glossy skin texture, cinematic contrast, editorial magazine style.”
Key settings adjusted in Open Art:
- Autoenhance: ON
- Prompt Adherence: 5 (balanced between literal interpretation and creative enhancement)
- Aspect Ratio: Vertical
- Steps: 30 (slightly above default of 25 for enhanced detail)
The results were magazine-ready—perfect for portfolios, websites, or print campaigns.
Key Juggernaut XL Settings Explained
| Setting | Description | Recommendation |
|---|---|---|
| Prompt Adherence | Controls how closely the model follows your exact prompt | 5 = balanced; higher = more literal; lower = more creative |
| Image Guidance | Upload a reference photo (e.g., of a person) for the AI to base the generation on | Use for custom character creation or likeness preservation |
| Aspect Ratio | Choose from presets or customize width/height manually | Match to your final use case (e.g., vertical for social media) |
| Seed | A number that determines the initial noise pattern | Reuse to recreate or slightly adjust a previous result |
| Steps | How long the AI runs before finalizing the image | Default: 25; increase to 30–35 for more detail (diminishing returns beyond that) |
Pro Tip: Create Custom Characters
For consistent, personalized portraits:
- Take multiple photos of yourself or your subject
- Upload them to Open Art to create a custom character
- Use Juggernaut XL as the generation model
This produces professional-looking portraits that mimic a real photoshoot.
#4: Flux Context Max – The Precision Photo Editor
Developed by Black Forest Labs as part of the Flux One Context suite, Flux Context Max was long considered the “editing king” before Nano Banana’s release. It specializes in precise, prompt-driven image editing while preserving subject identity.
Base Prompt Test Results
Surprisingly, Flux Context Max outperformed Nano Banana in the neutral prompt test. The generated portraits showed natural-looking makeup-like glossiness, realistic hair, lips, and strong facial anatomy. Even the cooler-toned second image remained believable and lifelike.
Realistic Editing Test
A real portrait (sourced online) was edited using this prompt:
“Change the hairstyle to wavy. Add stylish thin glasses. Adjust lighting for warmer tones. Preserve the face, pose, and expression. Hyperrealistic.”
No reference images were provided for the glasses or hairstyle—only the text prompt. Despite this, the edits were:
- Natural-looking glasses with proper fit and reflection
- Accurate wavy hairstyle matching the prompt
- Consistent facial structure and expression
Flux vs. Nano Banana: Key Differences
| Capability | Flux Context Max | Nano Banana |
|---|---|---|
| Best For | Subtle, realistic photo touch-ups (hairstyle, glasses, lighting) | Major compositing (background swaps, clothing changes, concept building) |
| Editing Strength | Preserves original identity with high precision | Excels at repositioning and rebuilding scenes |
| Generation Style | Slightly more natural and nuanced | Smoother, more commercial |
Flux Context Max remains the top choice for realistic photo adjustments in editorial, portrait, or personal use cases.
#5: Open Art Photo Realistic – The Casual Authenticity Champion
Unlike other models that emulate studio photography, Open Art Photo Realistic—built directly by the Open Art team—is designed for one purpose: generating images that look like they were taken on a regular smartphone in everyday life.
Base Prompt Test Results
With the neutral prompt, the output was casual, subtle, and natural—resembling candid photos from a personal camera roll rather than a staged shoot. There were no dramatic lighting effects, no airbrushing, and no AI smoothness.
Real-World Scenario Test
A specific prompt was used:
“A young woman sitting at a cafe table outdoors. Soft daylight, casual clothing, natural expression, realistic depth of field, background slightly blurred.”
With Autoenhance ON and horizontal output, the result looked exactly like a candid phone photo—complete with natural depth of field and unposed expression.
Why This Matters
In a landscape dominated by hyper-polished AI images, Open Art Photo Realistic fills a critical gap: authentic, unstyled human moments. These are the kinds of images that feel relatable, trustworthy, and genuine—perfect for lifestyle branding, social content, or storytelling.
Comparing All Five: Which One Should You Use?
There is no single “best” AI image generator—only the best tool for your specific need. Here’s a quick decision guide:
| Use Case | Recommended Model | Why |
|---|---|---|
| Casual, everyday photos (e.g., social media, lifestyle blogs) | Open Art Photo Realistic | Delivers authentic, smartphone-like realism without stylization |
| High-end professional portraits (e.g., portfolios, magazines) | Juggernaut XL | Unmatched cinematic detail, skin texture, and lighting fidelity |
| Subtle photo edits (e.g., new glasses, hairstyle, lighting tweaks) | Flux Context Max | Precise, identity-preserving edits with natural results |
| Major compositing (e.g., background swaps, product integration) | Nano Banana | Seamless multi-element blending for branding and ads |
| Images requiring clear text or logos | Ideogram (IDOG) | Superior text rendering and prompt adherence |
Why Open Art Is the Secret Weapon
While each model excels in its niche, the real game-changer is Open Art itself. Instead of managing separate accounts, credits, and interfaces for five different tools, Open Art provides:
- Unified access to all top AI image generators in one place
- No need for 10+ subscriptions or unreliable free sites
- Advanced features like Autoenhance, upscaling (up to 4K), and custom character creation
- Consistent workflow from idea to final, polished image in seconds
This makes Open Art not just a convenience—it’s a productivity multiplier for designers, marketers, and creators.
Step-by-Step: How to Generate Your First Realistic AI Image in Open Art
- Sign up for an Open Art account
- Click “Image” in the left sidebar
- Click “Switch” and select your desired model (e.g., Juggernaut XL)
- Enter your prompt (e.g., the neutral prompt or a custom one)
- (Optional) Enable Autoenhance for better prompt understanding
- Choose your output size (e.g., Widescreen, Art Print, Vertical)
- Click “Create”
- If needed, click the upscale button to enhance resolution and detail
Advanced Workflow: Multi-Step Editing for Maximum Realism
For complex edits (e.g., adding multiple elements), follow this proven method:
- Generate your base subject using a model like Juggernaut XL
- Use Nano Banana to composite the subject into a new background
- Save that output
- Re-upload it and use Flux Context Max to add fine details (e.g., glasses, jewelry)
- Upscale the final image to 4K in Open Art for print or web use
This layered approach leverages each model’s strength while avoiding detail loss.
Common Pitfalls and How to Avoid Them
- Overloading prompts: Keep base prompts simple to test model capability
- Using too many reference images at once: Stick to 1–2 for best results; chain edits step-by-step
- Ignoring upscaling: Always upscale if softness is present—4K output dramatically improves realism
- Skipping Autoenhance: This feature optimizes prompts for each model and often boosts quality
Realism Isn’t One-Size-Fits-All
The key insight from this comprehensive test is that “realism” has many forms:
- Studio realism (Juggernaut XL)
- Editorial realism (Flux Context Max)
- Casual realism (Open Art Photo Realistic)
- Commercial realism (Nano Banana)
- Artistic realism (Ideogram)
Choose the flavor that matches your project’s tone and audience.
Final Verdict: The Best Image Generators for Every Need
After exhaustive testing, here’s the definitive ranking by category:
📸 Best for Photographic Fidelity: Juggernaut XL
✏️ Best for Photo Editing: Flux Context Max
🧩 Best for Compositing & Branding: Nano Banana
🔤 Best for Text & Logos: Ideogram (IDOG)
📱 Best for Casual Authenticity: Open Art Photo Realistic
Get Started Today
If you’re ready to create realistic, professional-looking AI images without the hassle of juggling multiple tools, sign up for Open Art. With access to all five of these top-tier generators—and features like Autoenhance, 4K upscaling, and custom characters—you’ll go from idea to final image faster than ever before.
The future of AI image generation isn’t about one model dominating all—it’s about using the right tool for the right job. And with Open Art, you’ve got them all at your fingertips.