
TL;DR: Google Colab is a powerful, underrated cloud-based tool that provides free access to GPUs, a zero-setup coding environment, and seamless integration with AI assistants like Gemini, making it ideal for developers, researchers, and students to prototype, train models, and collaborate without infrastructure hurdles.
📋 Table of Contents
Jump to any section (23 sections available)
📹 Watch the Complete Video Tutorial
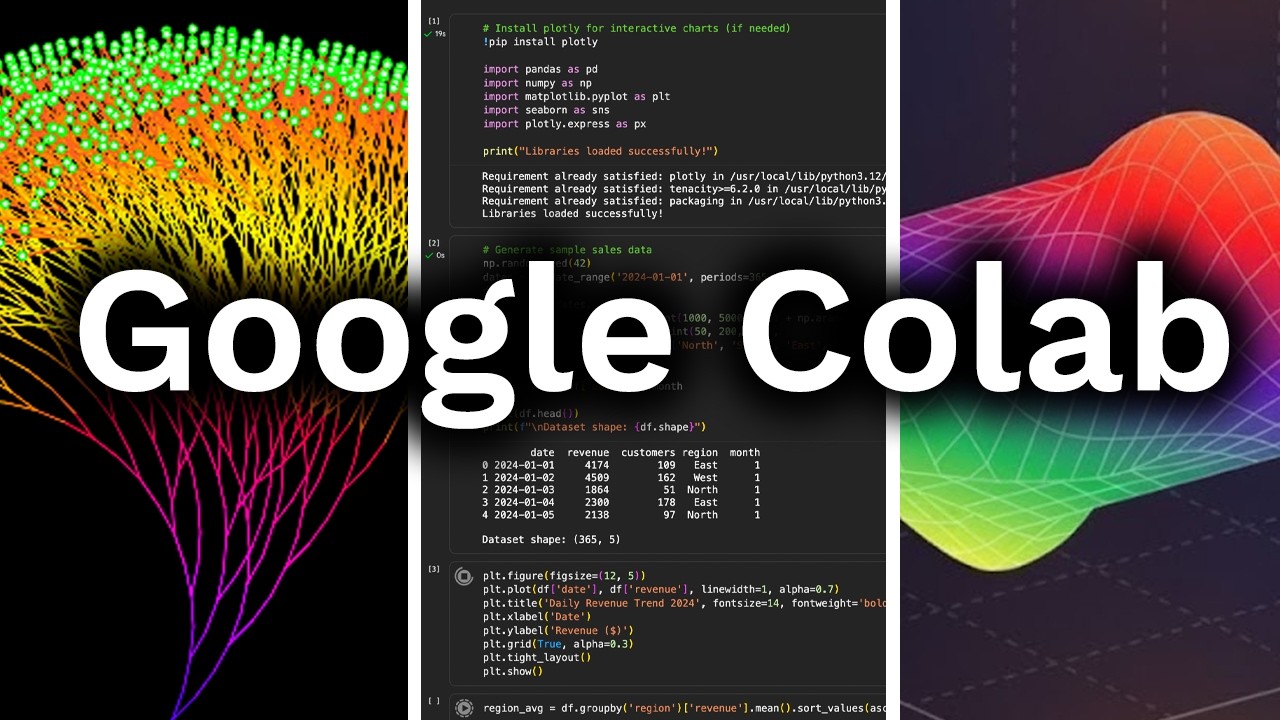
📺 Title: Google Colab is the most underrated AI tool ever (trust me)
⏱️ Duration: 781
👤 Channel: David Ondrej
🎯 Topic: Google Colab Most
💡 This comprehensive article is based on the tutorial above. Watch the video for visual demonstrations and detailed explanations.
Google Colab is one of the most powerful—and most underrated—tools available to developers, researchers, students, and entrepreneurs today. Whether you’re a complete beginner or an experienced AI engineer, Google Colab gives you instant access to free GPUs, a zero-setup coding environment, and seamless integration with AI assistants like Gemini. In this comprehensive guide, we’ll unpack everything you need to know to harness the full potential of Google Colab, based on expert insights and real-world demonstrations.
From running your first “Hello World” to training neural networks, fine-tuning AI models, and collaborating in real time, this article covers every tip, technique, shortcut, and insider trick mentioned in the original video transcript—transformed into a structured, actionable, and SEO-optimized WordPress-ready resource.
Why Google Colab Is a Game-Changer for AI Development
Google Colab isn’t just another coding platform—it’s a cloud-based powerhouse that democratizes access to high-performance computing. The speaker emphasizes that “Google literally gives you a free GPU to mess around with”, making it possible to run complex AI workloads even on a 15-year-old laptop or a smartphone.
Top AI researchers use Google Colab because it eliminates the biggest barrier to entry in machine learning: infrastructure setup. No need to configure CUDA drivers, manage Python environments, or install heavy libraries. You open a browser tab and start coding immediately.
With Colab, you can:
- Fine-tune AI models
- Validate startup ideas through rapid prototyping
- Build computer vision systems
- Learn how to code interactively
- Run complex data pipelines in the cloud
How to Access Google Colab: Two Easy Methods
Getting started with Google Colab takes seconds. The transcript outlines two foolproof ways to open it:
- Search “Google Colab” on Google and click the first link (usually
colab.research.google.com) - Inside Google Drive, right-click in any folder → “More” → “Google Colaboratory”
Either method opens a blank Colab notebook—ready to run code instantly, with zero environment setup required.
Understanding Jupyter Notebooks: The Foundation of Colab
Google Colab is built on Jupyter notebooks, an interactive coding environment that runs in your browser. The transcript explains this concept clearly:
“A Jupyter notebook is an interactive coding environment in your browser where you can write and execute code in independent blocks called cells.”
Why Jupyter Notebooks Are Beginner-Friendly
Unlike traditional code files with hundreds of lines, Jupyter notebooks break code into modular, executable cells. This allows you to:
- Write a single function or declare variables in one cell
- Run it immediately and see the output
- Proceed to the next logical step without re-running the entire program
Between code cells, you can insert text cells using Markdown to explain your logic, include images, or document your process—making notebooks ideal for tutorials, reports, and collaborative projects.
Your First Steps in Google Colab: From Hello World to Interactive Charts
The transcript walks through a beginner-friendly onboarding sequence:
- Type
print("Hello World")in the first code cell and click “Run” - See the output instantly below the cell
- Notice the top-right corner displays your runtime status: GPU type, RAM usage, and memory
Then, to demonstrate Colab’s power, the speaker creates a scatter plot in just 4 seconds using the following code:
import matplotlib.pyplot as plt
import numpy as np

x = np.random.randn(100)
y = np.random.randn(100)
plt.scatter(x, y)
plt.show()
This generates an interactive scatter plot directly in the browser—no external tools or installations needed.
Running Long-Term Experiments in the Cloud
One of Colab’s underrated features is its ability to run multiple notebooks simultaneously in the cloud. The speaker shares a real example:
“This Colab has been running for nearly 3 hours, looping through numbers to test the Collatz conjecture.”
Because Colab runs on Google’s servers, your local device’s age or power doesn’t matter. You can start a long-running script on an old notebook and check back later—though, as we’ll see, there are important caveats about session timeouts.
Essential Colab Interface Features and Navigation
The transcript highlights several key UI elements and actions:
- Add a new code cell: Click the “+ Code” button
- Add a text (Markdown) cell: Click “+ Text”
- Clear output: Click the “⋮” next to a cell → “Clear selected outputs”
- Run all cells: Use the “Runtime” menu → “Run all” (critical for avoiding beginner mistakes)
Mastering Cell Execution Order: A Critical Concept
One of the most common beginner mistakes in Colab is misunderstanding how variable state works. The transcript explains:
“Whatever last cell runs is the state of the variable… It doesn’t matter about the order of cells—it matters what order you run them in.”
Example of Cell Execution Pitfalls
Consider this sequence:
- Cell 1:
num = 0→ Run →num = 0 - Cell 2:
while True: print(num); num += 1→ Run (interrupt after 1,400 iterations) - Cell 3 (inserted above):
num = 5→ Run - Cell 4:
print(num)→ Output:5
If you skip running Cell 3, the output remains 1400. If you interrupt Cell 2 and never re-run it, but run Cell 4, you might see 300,000—whatever the last executed value was.
Key takeaway: Always use “Runtime → Run all” to ensure consistent state, especially when sharing or revisiting notebooks.
Built-In AI Assistance: Using Gemini in Google Colab
Google Colab includes built-in Gemini integration, allowing users to describe what they want in plain English and generate code automatically.
Even if you “don’t know anything about programming,” you can type a request like “create a scatter plot with random data” and Gemini will output functional Python code.
However, the speaker notes a limitation: Google doesn’t disclose which version of Gemini is running. This lack of transparency can lead to subpar responses—what appears to be “Gemini 2.5 Pro” might actually be a weaker “flashlight version.”
Debugging Errors with AI: A Real-Time Example
The transcript includes a live debugging session that showcases practical problem-solving:
- An error occurs:
ModuleNotFoundError: No module named 'notebook' - The speaker asks Gemini: “Help me resolve the errors”
- Gemini fails to provide a useful fix
- The speaker switches to Vector (vector.so), uploads a screenshot, and uses Sonnet 4.5 (a stronger model)
- Vector correctly identifies that
notebookisn’t a real Python package and suggests corrected imports
This demonstrates a powerful workflow: use AI assistants to explain errors in plain language, even if you don’t understand terms like “package installation” or “library import.”
Installing Packages and Managing Dependencies
When TensorFlow imports show yellow underlines (indicating unresolved references), the fix is often a missing package. The speaker resolves this by:
- Adding a new cell above the problematic code using
Ctrl+M, A(orCmd+M, Aon Mac) - Running:
!pip install tensorflow - Re-running the original cell
Note the use of ! to run shell commands inside Colab—essential for package management.
Essential Google Colab Keyboard Shortcuts
Speed up your workflow with these built-in shortcuts (Mac equivalents shown):
| Shortcut | Action |
|---|---|
Cmd + M, B |
Add cell below |
Cmd + M, A |
Add cell above |
Cmd + M, D |
Delete current cell |
Mastering these shortcuts makes Colab “very OP” (overpowered), as the speaker puts it.
Connecting Google Colab to GitHub for Version Control
To combine Colab’s user-friendly interface with Git’s version control:
- Click the settings icon (gear) in the top-right
- Scroll to “GitHub”
- Click “Authorize with GitHub”
This allows you to save, sync, and collaborate on notebooks while maintaining a full Git history—ideal for team projects or personal backups.
Importing and Running Notebooks from GitHub
The transcript demonstrates how to load external projects:
- In Colab, go to File → Open notebook → GitHub
- Paste a GitHub repository URL (e.g., a deep learning book repo)
- Browse and select a
.ipynbfile (e.g., “multilayer_perceptron.ipynb”) - Colab loads the notebook instantly
This is a powerful way to learn from existing projects and build on open-source work.
Training Your First AI Model in Google Colab
The speaker loads a multilayer perceptron notebook and trains a neural network entirely in Colab:
- Click “Runtime → Run all”
- Google allocates a free GPU automatically
- The notebook imports libraries (
numpy,matplotlib,tensorflow) - Downloads the MNIST dataset from the University of Toronto
- Builds and trains a model over multiple epochs
During training, you can watch:
- Loss decreasing (indicating learning)
- Accuracy increasing
Though this model is “many orders of magnitude smaller” than cutting-edge LLMs, it demonstrates the core principles behind tools like ChatGPT and Claude—neural networks that learn from data, not hardcoded logic.
Runtime Limits and Data Persistence: Critical Warnings
Google Colab is not a data storage solution. The transcript stresses two key limitations:
- Sessions time out after ~90 minutes of inactivity
- All variables and outputs are lost when the runtime disconnects
Beginners often lose hours of work because they assume their results are saved. To avoid this:
- Save intermediate results to Google Drive using
from google.colab import drive; drive.mount('/content/drive') - Export final outputs (models, CSVs, images) before closing
- Use “Run all” at the start of each session to regenerate state
Free vs. Pro: Understanding Google Colab Tiers
The free version of Colab has limits:
- Maximum of 2 active runtimes at once
- Access to basic GPUs (e.g., T4, K80)
- 90-minute idle timeout
To unlock more power, consider Google Colab Pro, which offers:
- More concurrent sessions
- Higher-end GPUs like A100
- Access to Google TPUs (Tensor Processing Units)
- Longer runtimes and priority access
The speaker had to stop a 3-hour Collatz conjecture experiment because they hit the 2-runtime limit on the free tier.
Advanced Features: Media, Widgets, and Interactivity
Colab supports rich media and UI elements without front-end frameworks:
1. Embedding YouTube Videos
You can watch YouTube videos directly inside a Colab cell—useful for tutorials or demos.
2. Interactive Widgets
from ipywidgets import interact
import numpy as np

@interact(x=(0, 10))
def f(x=5):
    return x
This creates a live slider that updates output in real time—no React or JavaScript needed.
3. Audio Generation
import numpy as np
from IPython.display import Audio

rate = 22050
t = np.linspace(0, 1, rate)
Audio(np.sin(2*np.pi*440*t), rate=rate)
This generates a 440Hz sine wave (A4 note) and embeds an audio player in the notebook.
Real-Time Collaboration in Google Colab
Like Google Docs, Colab supports multi-user editing:
- Team members can add comments
- Others can implement changes in real time
- All work happens in a single, organized space
This makes Colab ideal for pair programming, code reviews, and classroom instruction.
Historical Context: AI Is Older Than You Think
While demonstrating a perceptron notebook, the speaker gives a shoutout to Frank Rosenblatt, who invented the perceptron in the 1950s. This highlights a key insight:
“The field of AI is actually much, much older than people realize.”
Understanding this history helps demystify modern AI—it’s built on decades of research, much of which can be replicated in Colab with just a few dozen lines of code.
Learning Philosophy: Why Colab Is Perfect for Education
The speaker uses Colab primarily for learning and experimentation:
- Test dozens of functions without cluttering files
- Maintain clear state separation via cells
- Get instant feedback on each code segment
- Use AI assistants to explain errors in real time
This lowers the barrier to entry and accelerates the learning curve for aspiring developers.
Recommended Resources and Next Steps
The transcript mentions several external resources:
- The New Society: Offers a popular module on “building your first AI agent in Google Colab”
- Vector (vector.so): An AI platform with transparent model selection (e.g., Sonnet 4.5) for debugging
- Andrej Karpathy’s minGPT: A 100-line repository that builds a functional language model—proof that LLMs aren’t magic
If you want to go deeper, the speaker recommends watching their video on fine-tuning AI models in Google Colab (link provided in original video description).
Final Thoughts: Why Google Colab Is “OP for Learning”
Google Colab’s true power lies in its ability to remove friction from the development and learning process. You don’t need a powerful machine, a CS degree, or months of setup. You need a browser and curiosity.
As the speaker puts it: “You can build anything you can imagine inside of Google Colab.” Whether you’re testing mathematical conjectures, training neural nets, or prototyping a startup idea, Colab gives you the cloud infrastructure, AI assistance, and collaborative tools to succeed—for free.
🚀 Ready to Start?
Open Google Colab now, run your first cell, and join the millions of developers using the world’s most accessible AI development platform.